It lies somewhere between a dark, almost monastic ritual when you see Q-graders trying to out-slurp one another at an important coffee event, and something altogether more lighthearted and fun. But why would anyone want to do this, and is cupping something that you should try yourself?
It’s actually really simple
The thing with cupping coffee is that it’s technically very easy and requires very little equipment, or effort to set up. It’s certainly the easiest way for anyone to try a range of different coffees quickly, in order to evaluate quality. Admittedly, trying to finely identify SCA scoring categories, or fish out the best tasting notes is somewhat more difficult and at times frustrating, but unless it’s your job to nail these, it’s a lot of fun to simply explore a few of your senses.
It’s also delicious
The methods we now use for french press/cafetière derive from the cupping process since it’s one of the tastiest ways to brew your coffee. Amongst all of the brewing methods that are available out there, it turns out that the simplest is easily one of the best.
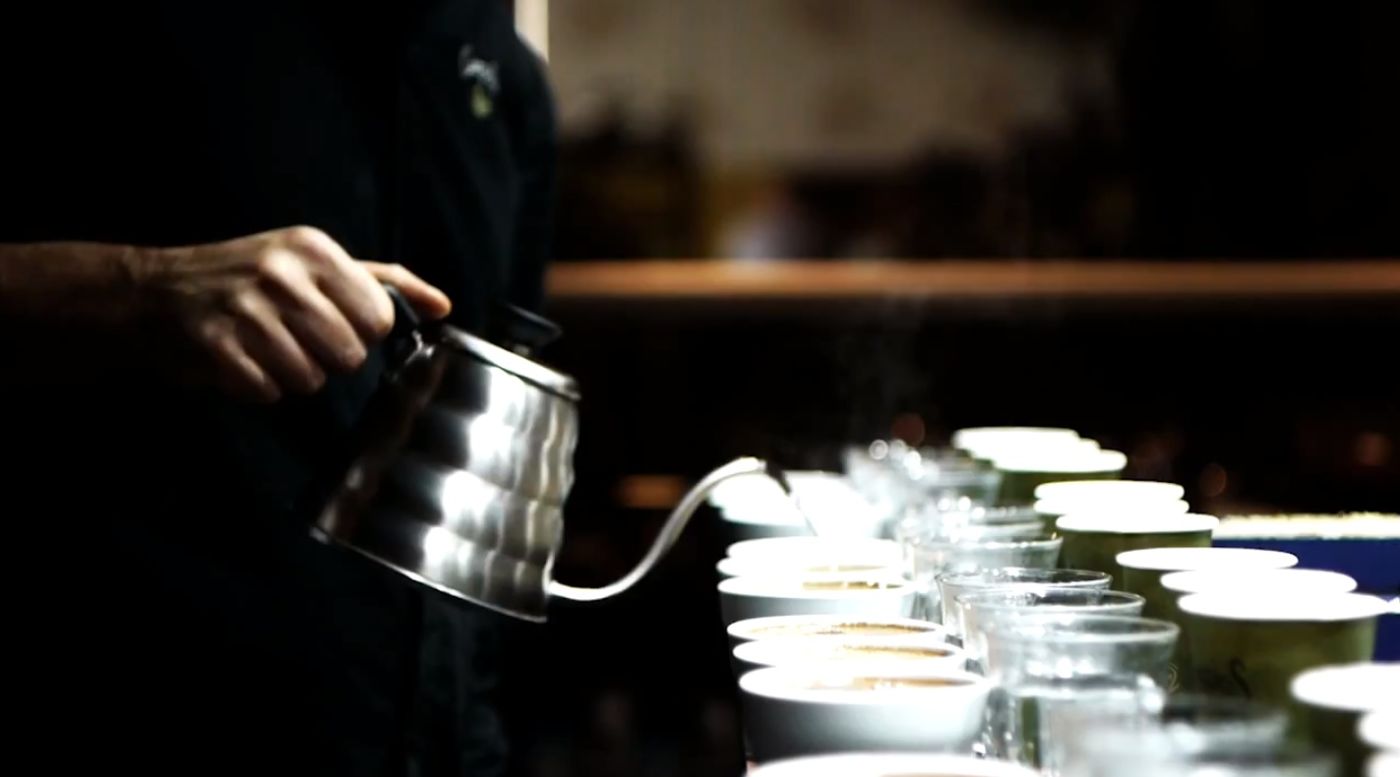
Our method
The Specialist Coffee Association (SCA) have a dedicated set of technical cupping protocols, but it goes into some ridiculous specifics including hundredth of a gram measurements and cupping table sizes; not the most user-friendly, especially if you’re just trying to have some fun.
Use our method instead, which minimises the fuss, and we even have some cupping sheets that we use ourselves, which you can print off and try for yourself.
- Grab a few whisky or Collins glasses, or tumblers that you have – they need to be identical and match the number of the coffees you are sampling. Get an extra 2 glasses (these don’t need to be identical), half filled with cold water.
- Boil some water – ideally filtered. Even Brita filter is great.
- Grind an equal of amount of each coffee (be as accurate as you can, ideally to 1 gram using some kitchen scales); you can try different grind settings to see what works best for you, but the grind should be slightly coarse.
- Label the glasses containing each coffee underneath using torn off pieces of post-it notes, or whatever other solution you can think of that’s cheap/easy
- Optional: with a friend, mix these up between you so that you can taste the coffees ‘blind’ — the idea is to try to guess the origin simply by how the coffee tastes
- After the water has boiled, leave it aside for about a minute to allow the temperature to cool slightly, then pour the hot water into each glass. You should weigh the amount you pour in and it should be 16 times the amount of coffee ground. A starting point is 8g of coffee to 128g water, but you can use any multiples you like – you may find larger numbers may fit your glasses better.
- Leave to rest for at least 4-5 minutes
- Grab a soup spoon for each person and gently break the crust that’s formed at the top of each glass. Get your nose close, and smell the coffee before, during, and after doing this, since most of the coffee’s aromatics are released at this point.
- Stir the crust slightly so that most of it sinks to the bottom, and use 1 or 2 spoons to remove the excess particles still floating on the top. Dump the excess particles into one of the spare glasses, and use the other to rinse your spoon between different coffees.
- Grab your spoon and scoop a reasonable amount of coffee from the top, then slurp it as hard and as loudly as you can! This helps to vaporise the liquid and spread it evenly across your tongue; it helps to reveal more of the coffee’s flavours and they will continue to reveal themselves as the coffees cool. We’ve sometimes witnesses new flavours even after 20-30 minutes!
And that’s it, enjoy! Let us know about your experiences in the comments. 🙂